Embarking on a DIY project like dismantling a 3-seater recliner sofa can seem daunting, but with the right knowledge and tools, it’s an achievable task. The key to a successful disassembly lies in understanding the unique design and components that make up your couch. Before you begin, you’ll need to identify the connecting hardware, which may include various screws, bolts, and levers. This crucial step not only ensures a smooth and safe process but also protects the integrity of your furniture for future reassembly or disposal. As we delve into the specifics of detaching sofa sections and protecting recliner mechanisms, you’ll be equipped to tackle each phase of the dismantling with confidence.
Table of Contents
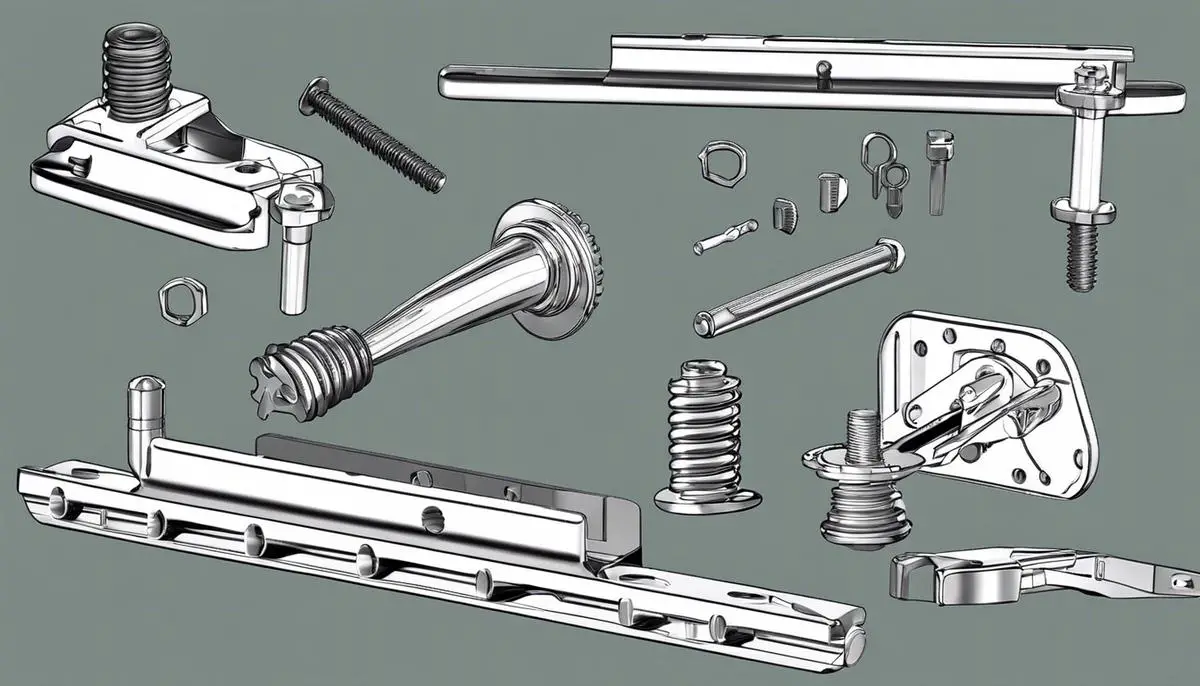
Identifying Connecting Hardware
Connect with Comfort: The Hardware That Brings Your Recliner Sofa Together
Ah, recliner sofas – the bastion of comfort in the modern living room. Whether binging your favorite show or savoring a good read, there’s nothing quite like sinking into a plush sectional that just seems to hug you back. But what makes these modular marvels of coziness stick together so seamlessly? It’s all in the hardware.
If you’re keen on understanding what keeps these pieces of comfort from drifting apart, you’re in luck. Here’s the nuts and bolts – quite literally – of recliner sofa connectors:
Bracket Connectors
Typically, sectional sofas come equipped with bracket connectors. These metal or plastic components are built for straightforward usage. They usually have one male and one female part that slide together to lock the sections into place:
- Metal Locking Brackets: Often found on the sides of each sofa section, these brackets – one with a protruding ‘L’ shaped hook and the other with a receiver – simply slide together, keeping your sections tightly connected.
- Plastic Bracket Connectors: These connectors might feature a large, durable plastic handle that fits into a corresponding slot on the adjoining piece. You’d align the two sections close to each other, lift the handle, and click them into place.
For both types, you’ll want to ensure a snug fit. If there’s a wiggle, your sectional could be prone to unexpected separations when you shift or move.
Pins and Clips
If your recliner doesn’t use bracket systems, it may employ pins and clips. Here’s how those work:
- Drop-in Pin Connectors: Pin connectors are usually built into one section’s base and drop into slots or holes on the adjacent section. They provide a semi-permanent connection that’s not as easily undone as brackets.
- Clevis Pins and Clipping Mechanisms: Sometimes, a clevis pin (a type of fastener) is used, where it goes through aligned holes in the frame of each section. A clip, resembling a hairpin or ‘R’ clip, is inserted after the pin to prevent it from slipping out.
Elastic Straps and Velcro
For an added degree of cohesion between your cushy companions:
- Elastic Straps: Straps can be stretched between and hooked onto the frames of connecting sections. These don’t usually provide the primary source of adhesion but act as an added security feature.
- Velcro Strips: Believe it or not, Velcro can also play a role. Some sections come with Velcro strips that help secure the fabric covers of two adjoining sections together, preventing slippage and ensuring the visual continuity of your sofa’s upholstery.
Screws and Mounting Plates
In some cases, a more permanent fix is necessary or desired:
- Screws: With aligned holes in the frames, sturdy screws may be used. Though not common for quick sectional assembly and disassembly, they offer heightened stability when movement isn’t anticipated.
- Mounting Plates: These metal plates can be affixed to the sofa’s base, where they provide a flat surface for the sections to rest against each other, sometimes with added screw points for extra holding power.
There you have it, fellow comfort-seekers. Whether you’re moving your recliner sofa to a new spot, adding a new section, or simply feeding your curiosity about its construction, knowing about the hardware that holds it all together can make a big difference. Remember, your sectional is just like a good friendship – with the right connections, it gets stronger and more dependable. Keep that knowledge snug in your toolbelt, and enjoy the unmatched bliss of your custom comfort zone!
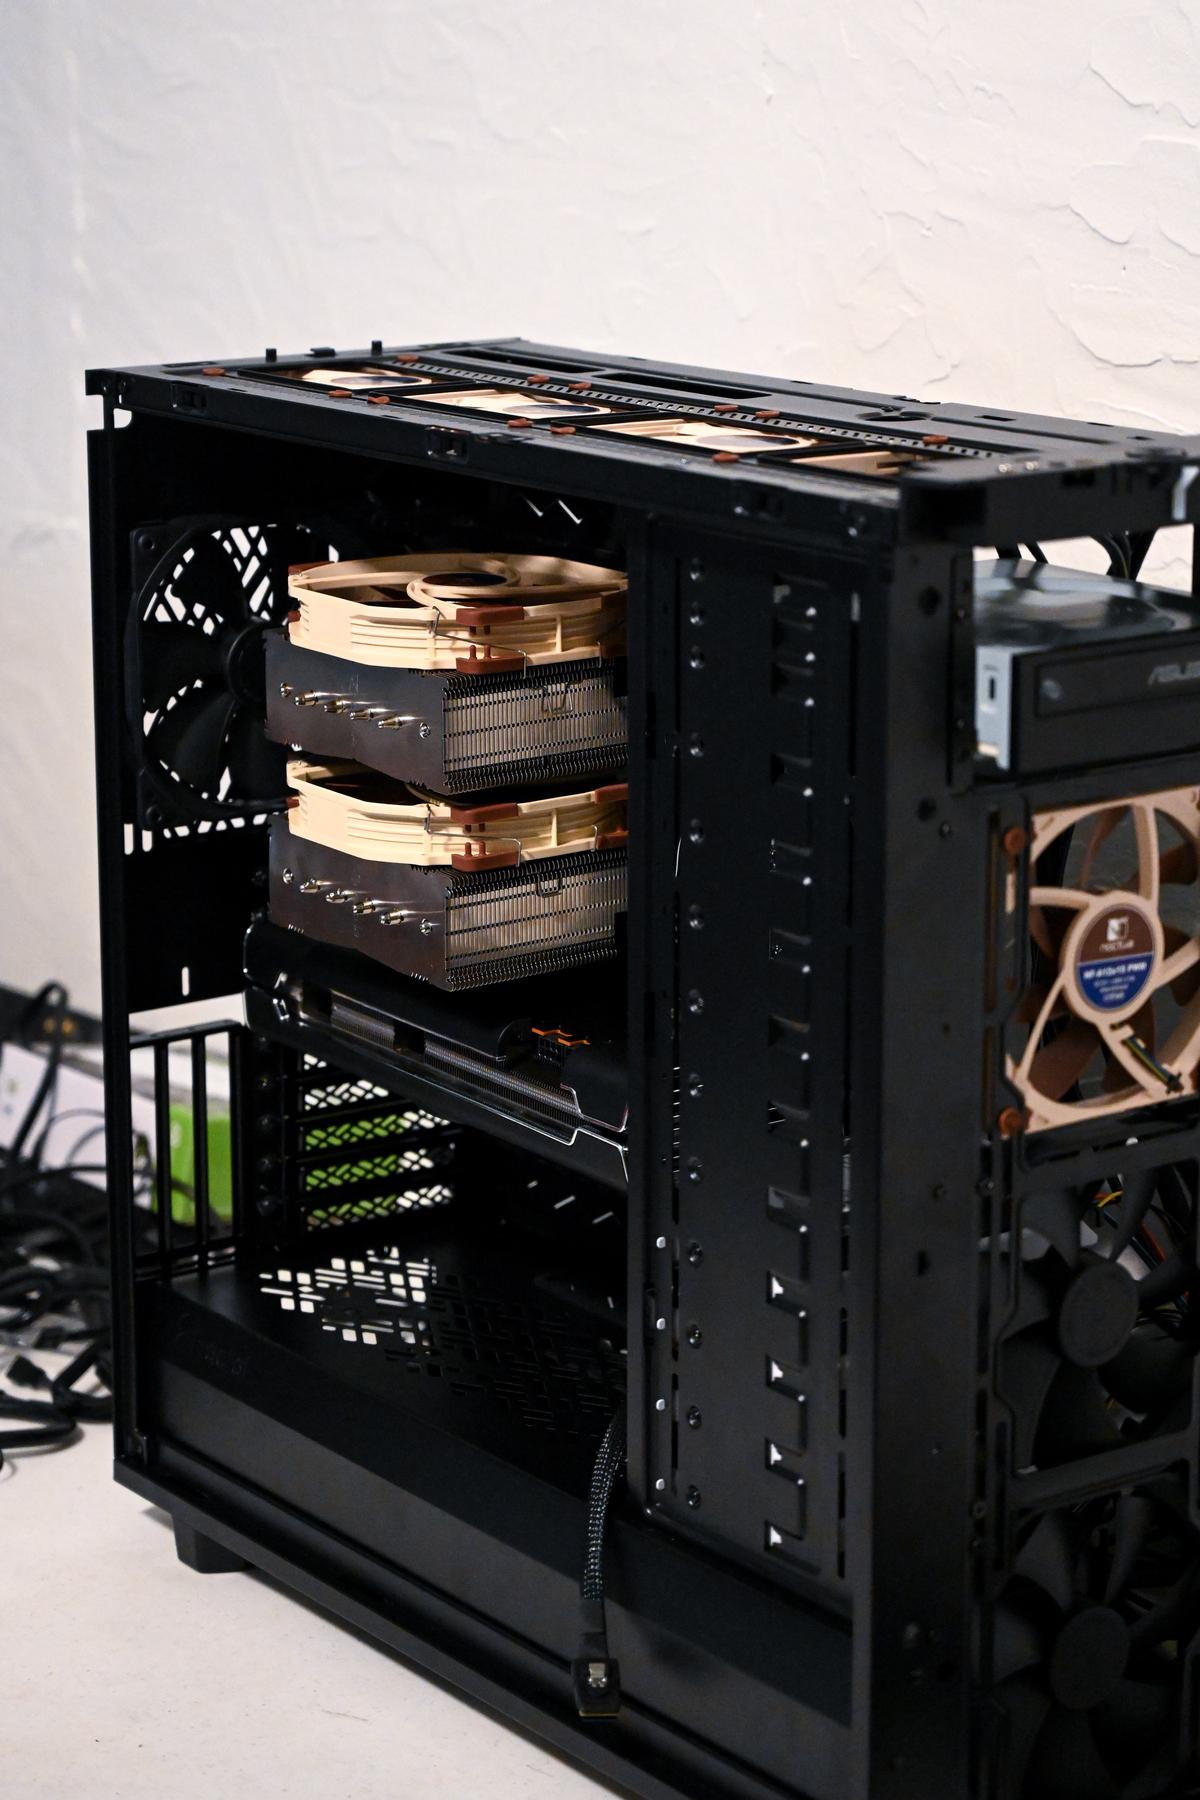
Photo by nathananderson on Unsplash
Detaching Sofa Sections
Disassembling Your 3-Seater Recliner Sofa: The Final Steps
Have a three-seater recliner sofa that’s stuck together like it’s one piece? Fret not! Once those metal locking brackets, plastic connectors, and clever clipping mechanisms have been tackled, here comes the final stage of freeing each section to reclaim your space or prepare for an effortless move.
Now, it’s time to focus on the additional elements that often get overlooked when it comes to separation. Attention to detail is key here!
Firstly, investigate for any hidden fabric ties. Sometimes, these unassuming bits of material are looped around the frame to keep the sections snugly positioned side by side. Simply untie these by hand or, if knotted too tightly, carefully use a pair of scissors to snip them away without damaging the upholstery.
Next up, scout for snapper or seat clips. These are usually found on the underside of each recliner section, attaching to a metal or wooden bar running along the bottom. Press down firmly on the release mechanism—often a button or lever—and voilà, the sections should unhitch with a bit of persuasion.
Don’t ignore the potential of rail or channel systems. These require sliding the sections horizontally to disconnect. Check the base for rails that might look like drawer tracks. Sometimes, lifting one side while pushing the other can be the trick to get things moving.
If your sofa is older or a less common model, you might discover unique connectors resembling jigsaw puzzles. These interlock in a specific pattern and need to be carefully jiggled or angled out, akin to solving a spatial puzzle. Patience is your best tool here; forcefulness could lead to damaged connectors.
Last but not least, remember to double-check the back of your sofa for any back-flap velcro or zipper compartments that may conceal additional bolts or latches essential to the disassembly process. Unfasten these with the appropriate screwdriver or hex wrench, always turning them counterclockwise.
By following these straightforward guidelines, your recliner sections should now be free from one another, ready to transport, rearrange, or even replace as desired. Remember, every sofa can have its unique quirks, so when in doubt, a quick check of the manufacturer’s manual can save the day—and the sofa! Happy disassembling!
Photo by kumpan_electric on Unsplash
Protecting Recliner Mechanisms
Taking a Recliner Apart Safely: A Guide to Preserving Mechanisms
Diving into the world of recliners can be surprisingly exciting, offering more complexity than one might expect. With a little patience and the right approach, anyone can learn to dismantle a recliner without causing damage to those crucial mechanisms that keep everything moving smoothly. Let’s delve into the essential steps to ensure the integrity of the mechanized parts remains intact throughout the disassembly process.
First and foremost, remember to locate and carefully release the tension springs. These springs are typically found under the seat or at the rear, depending on the recliner design. Using a spring removal tool or needle-nose pliers can make this task easier. Exercise caution — these springs are under tension and can snap back if not handled properly.
After dealing with the springs, proceed to disconnect any electrical components, if applicable. For power recliners, unplug the unit from the wall and detach all electrical connections, including motor wires and sensor cables. Utilize zip ties to secure loose wires together to prevent tangling or damage during the rest of the dismantling.
Now, focus on the lever or pull cord used to extend the recliner’s footrest. These are usually attached to the mechanism with a bolt or a cotter pin. Remove these carefully and keep them together with their corresponding parts to avoid confusion during reassembly.
To protect the footrest mechanism and articulating arms, it’s wise to position the recliner upside down on a soft surface before removal. This will offer clear access to the underside and prevent scratching or denting the components.
Next, inspect for any dust covers or fabric shields that are stapled to the frame. Gently remove these to uncover the inner workings of the recliner. Take care not to rip or tear these covers, as they protect the internal mechanics from dust and debris.
One often overlooked step is lubrication. Before and after disassembling the recliner, apply a silicone-based lubricant to all moving parts and joints. This reduces friction during the process and ensures smooth operation when the chair is put back together.
Lastly, when separating the main parts of the recliner, such as the seat from the back, look for any pressure-fitted components or hidden screws that might be securing the two together. These will need a gentle but firm touch to disconnect without bending or breaking.
Patience and meticulous attention to detail will see the recliner safely dismantled. Keep track of all hardware and components during the process, organizing them in a methodical way for an easier reassembly. Once everything is securely separated, the recliner is ready to be moved, stored, or repaired without a hitch. Remember, the key to maintaining those intricate mechanisms lies in a thoughtful and considered approach. Happy dismantling!

Photo by ganding87 on Unsplash
Now that the fundamental elements of dismantling a 3-seater recliner sofa have been addressed, the task may not seem as overwhelming. By following the careful steps outlined to detach sections and preserve the functionality of recliner mechanisms, your sofa should now be successfully and safely disassembled. Remember that patience and attention to detail are your best tools in ensuring that every component is handled with care. With the sections apart and the mechanisms secure, you can store, move, or dispose of the sofa pieces as needed. The knowledge you’ve gained today will serve you well for any future furniture disassembly projects you may undertake.

After sitting in a back breaking office chair for hours every day at his job, William Burch got the idea to start the Recliners Hunt website. William is focused on ergonomic chair design – as it is more important than ever today since we are spending more and more time sitting at our computers.