Whether you are looking to move your Lazyboy recliner, repair it, or simply want to understand how it works, disassembling it is a significant starting point. The iconic Lazyboy recliner has comforted many households over the years but few know the intricacies of its construction. This guide will have you navigate effective disassembly techniques, while shedding light on the recliner’s structure so you can appreciate its complex design. You’ll also gain a grip on the indispensable safety precautions to promote a secure disassembly process. So roll up your sleeves and prepare to unravel the secrets of the popular couch potato companion.
Table of Contents
Understanding the structure of a Lazyboy recliner
Understanding Your Lazyboy Recliner: Parts and Connections
For many people, the Lazyboy recliner is the epitome of comfortable home seating. With various features designed to give us optimal relaxation, there’s no doubt why it’s often considered an essential living room fixture. But have you ever wondered what makes this recliner so special? Well, here’s an article to unravel the mystery. Let’s get familiar with the different parts of a Lazyboy recliner and how they are interconnected to form this symbol of residential tranquility.
Let’s start from the top:
- Backrest and Cushions
- Seat and Leg Rest
- Lever and Chaise Pad System
- Arms and Frame
- Rocking and Recline Mechanism
- Wooden Base and Swivel
The backrest and cushions are the main components that provide the comfort in Lazyboy recliners. Usually filled with high-density foam and upholstered, these parts could be fixed or detachable – the latter facilitating easy cleaning and maintenance. The backrest typically connects to the seat frame using metal brackets, enabling its reclining feature.
The seat, like the backrest, is padded for comfort and typically covered in the same upholstery. Encased within the seat structure, are lever mechanisms that control the reclining movements along with an extension to a leg rest. Upon reclining, the backrest inclines while the seat inclines, raising the leg rest simultaneously for optimal relaxation.
Situated on the side of the Lazyboy recliner is a lever for activating the chair’s reclining and leg-rest lifting functions. Depending on the model, some Lazy boy recliners also have buttons instead of a lever. This lever operates a metal rod connected to a series of springs, gears, and brackets below the seat, forming what is referred to as the reclining mechanism.
A unique feature of a Lazyboy recliner is its chaise pad system. Unlike other recliners, it is designed to rise with the leg rest, efficiently providing support to the body in the reclining position.
The arms of a Lazyboy recliner are not only designed for comfort but are also crucial structural components. Coffee-colored urethane armrests encasing a metal frame provide both style and durability. The arm connects to the seat frame and the back, creating a sturdy framework for the recliner.
The rocking and recline mechanism are fundamental elements for the Lazyboy recliner’s famed comfort and flexibility. It consists of a dual mechanism wherein one part enables the recliner to sway back and forth like a rocking chair, while the other allows the seat to recline towards the backrest when the lever or button is activated.
The bottom part of the Lazyboy recliner consists of a wooden base upon which the entire structure rests. It offers firm support to the heavy-duty construction. A pivot point on the base, usually found in higher-end models, allows the chair to swivel in addition to reclining and rocking.
Although the Lazyboy seems intricate, now that you understand its parts and how they connect, perhaps your relaxation time will feel even more rewarding. After all, there’s something special about appreciating the effort and craftsmanship that goes into building every Lazyboy recliner. So, go ahead – kick back, unwind and enjoy your Lazyboy recliner to the fullest.

Proper disassembly techniques
Fine-Tuning Your Craft: Recliner Disassembly
Delving into the world of recliner maintenance, one finds a rich tapestry that weaves together a blend of practicality, creativity, and technical know-how. When it comes to disassembling the ever-popular Lazyboy recliner, there is definitely an art to it. Intimate knowledge of the recliner’s components – backrest, seat and leg rest, lever and chaise pad system, and even the wooden base and swivel, can make all the difference in your disassembly journey.
Before exploring the technique, we need to be armed with the right tools. Standard screwdrivers, both Phillips head and flat head, are essential. Smaller precision screwdrivers could be handy when dealing with tight corners. A hex key set is essential as well, since Lazyboys tend to feature a good number of hex bolts. Wire cutters and pliers will assist you with any stubborn springs or wires, and lastly, a wrench set is indispensable for loosening the numerous nuts and bolts.
Firstly, the rocker spring should be detached from the recliner. A sound understanding of the rocking and recline mechanism is necessary for this crucial step. Carefully locate the rocker springs by flipping the recliner chair upside down. Utilize your wrench set to remove the bolts that hold the springs in place. Once the rocker spring has been detached successfully, you’re halfway through.
Next, let’s unravel the not-so-complicated task of handling the Arms and frame. Using your screwdriver, disengage the screws that secure the arms to the frame. A word of advice here – a magnetic parts tray can be invaluable to keep track of all the small pieces. Take care, the frame can be heavy, and this step often requires both hands free, so ensure your workspace is clear and safe.
It’s not until you dive into the lever and chaise pad system that you begin to appreciate the marriage between luxury and complexity. Do note, though: This is where your precision really comes in. The lever is typically connected to the rest of the system by a series of hooks and joints that can be detached with a bit of force and your trusty pliers. Be gentle with the chaise pad system since they can be fragile and replacements can be expensive.
The journey concludes with dismounting the wooden base. This might require an extra pair of hands or a good amount of strength, depending on the size and design of the recliner. Flip the chair over again to access the base. Using your Phillips, or sometimes a hex key, disengage the screws or bolts. Voila, you have now fully disassembled your Lazyboy recliner!
While the process may seem long and complex at first, like all things, it becomes easier with practice. Follow these steps, arm yourself with knowledge and patience, and revel in the satisfaction and knowledge gained from dismantling your Lazyboy recliner with expertise. Happy Disassembling!
Safety precautions
Emphasizing Safety while Deconstructing a Lazyboy Recliner
When disassembling a Lazyboy recliner, safety matters as much as the precision of the process. Yes, getting every screw and bolt undone is undoubtedly essential, but ensuring a safe work environment is equally crucial. This article provides focused, easy-to-understand advice on key safety precautions you should take while deconstructing your Lazyboy recliner.
- Safe Workspace:
- Correct Tools Usage:
- Electrical Precautions:
- Beware of Sprung Pressure:
- Instruction Manual:
- Organized Approach:
- Heavy Load Handling:
- Protective Gear:
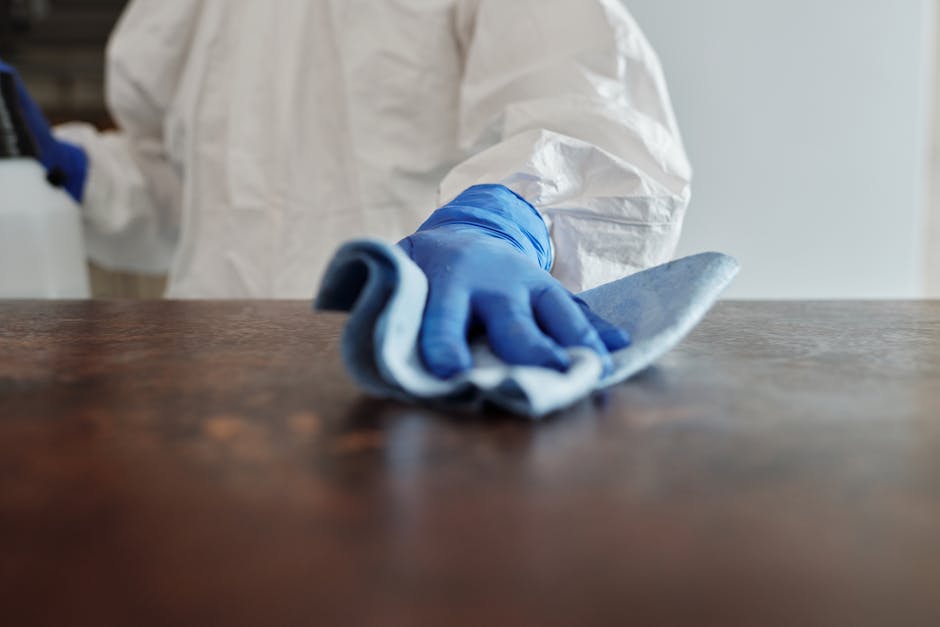
Always remember to start with a clean, clutter-free workspace. Doing so reduces the possibility of tripping over loose tools and parts. Place a soft mat under the recliner to prevent scratches on the floor or chair when you flip it.
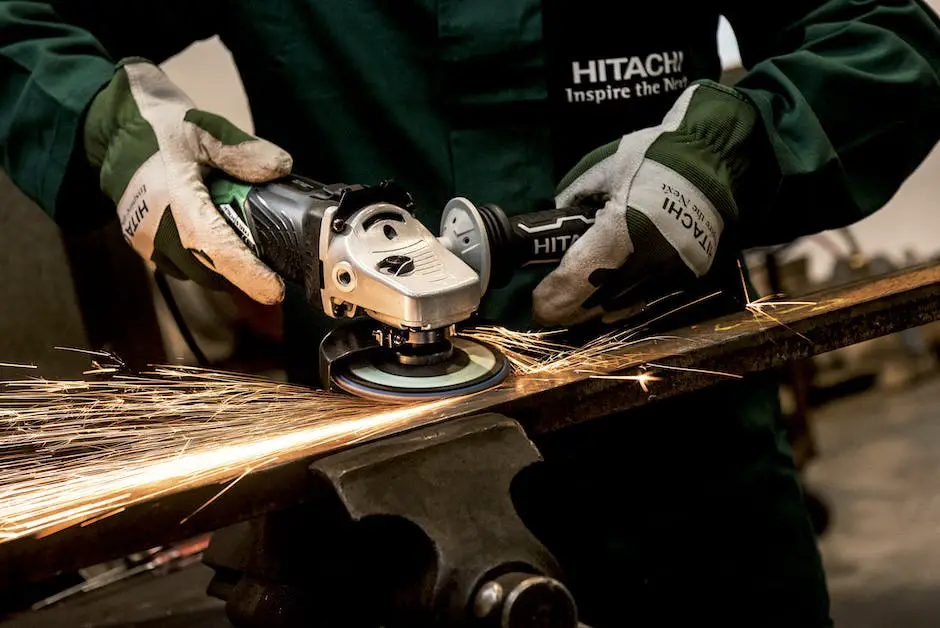
While tools are key in disassembling your Lazyboy, they also come with inherent risks. Always use the correct tool for each task to avoid accidents. Use grip gloves when handling sharp tools to offer additional safety and improved handling.
If your Lazyboy recliner has an electrical reclining function, be sure to disconnect from any power supply before disassembling. This crucial step ensures that there are no surprises involving live wiring.
Understand that certain parts, such as the recliner mechanism, are spring-loaded. As such, removing the relevant pins or screws can spring these parts out with surprising force. Exercise caution when releasing these parts, and always expect the unexpected.
Before disassembling the recliner, go through the manufacturer’s manual. Follow the disassembly steps as outlined to preclude any mishaps.
Keep all screws, bolts, and other small parts in a separate bowl or tray to prevent them from rolling away or getting lost. A systematic approach minimizes the chances of losing essential components and ensures a smoother reassembly process later on.
Keep in mind that different parts of the recliner can be heavy. Always lift with knees bent and back straight, or ask for help when handling these parts. Using a dolly or additional hands when moving the recliner or its bulkier parts can prevent strain or injury.
Whenever possible, use safety glasses or goggles to shield your eyes from unexpected flying debris. A sturdy pair of work shoes can also protect your feet from any dropped components.
After ensuring all these safety measures, look forward to a fuss-free, harm-free disassembly job. Combining proper safety protocols with the knowledge from the previous section on how to disassemble the different parts of the recliner can make your Chair-Mend (a blend of the word chair and the term DIY) project a grand success!
After delving into the nuts and bolts of disassembling a Lazyboy recliner, it should be evident that the process involves a fair bit of labor, precision, and safety considerations. Nonetheless, with the right understanding of its structure and an earnest adherence to safety precautions, this task can be accomplished without undue strain or risk. And remember, a smooth disassembly isn’t just about effectively taking apart the recliner; it’s about ensuring that it can be put together again, functioning just as well, if not better than before. So, go forth armed with knowledge and tools and turn this seemingly daunting task into a rewarding DIY project.

After sitting in a back breaking office chair for hours every day at his job, William Burch got the idea to start the Recliners Hunt website. William is focused on ergonomic chair design – as it is more important than ever today since we are spending more and more time sitting at our computers.